


Gifting has never been easier
Perfect if you're short on time or are unable to deliver your gift yourself. Enter your message and select when to send it.
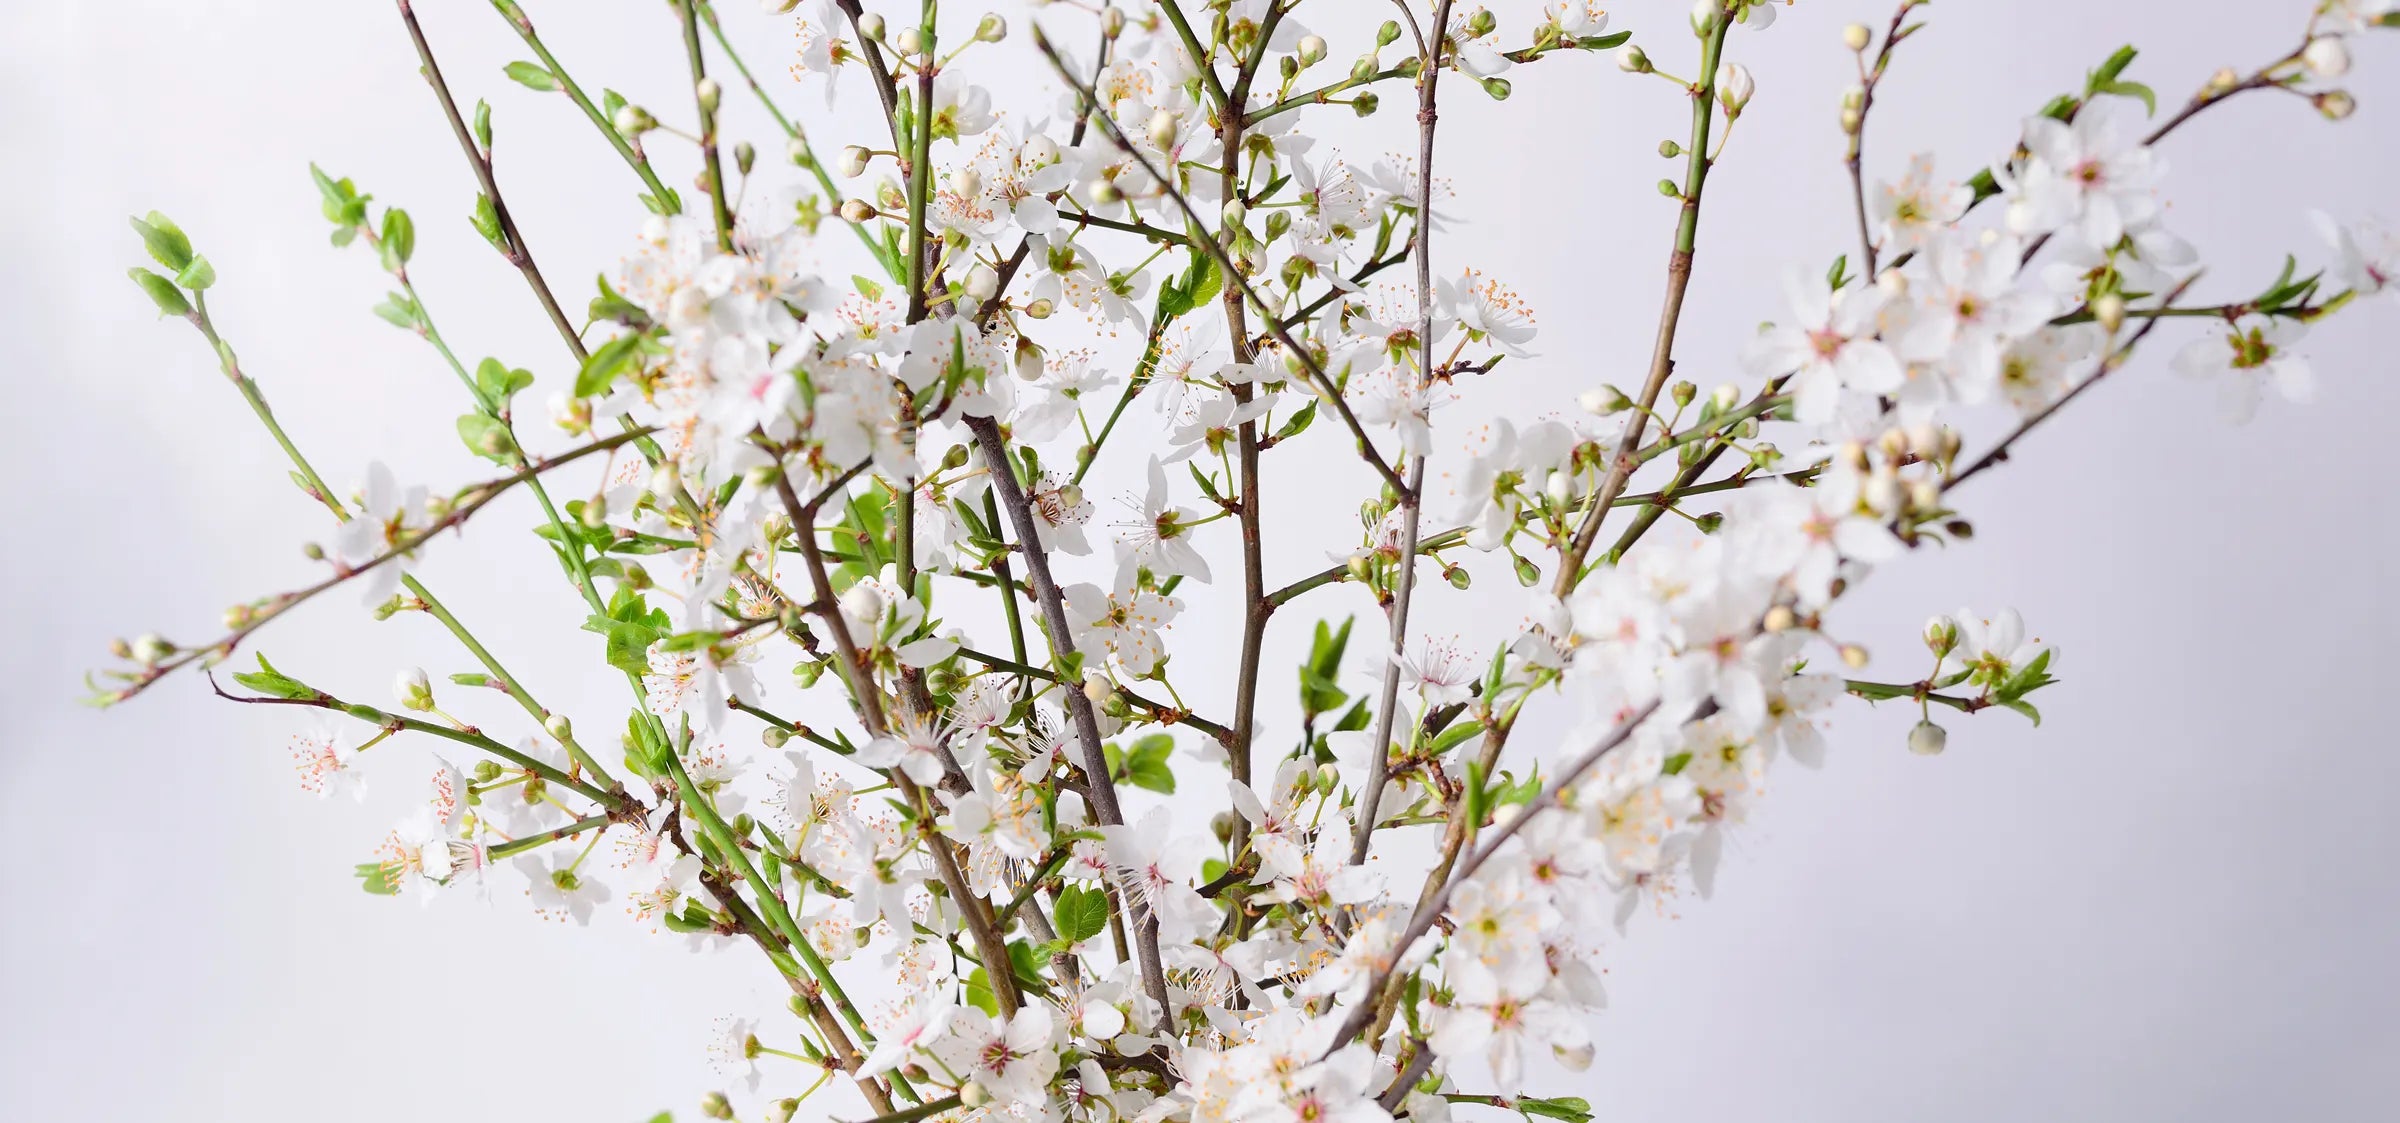
There’s nothing like the thrill of watching sleeping bulbs and dormant branches burst into spectacular bloom, especially if you planted them yourself. Take our tips on forcing and watch nature take root, grow, and bloom
1. Make a long diagonal cut on woodsy branches (like forsythia, dogwood, cherry, and quince) and place in a bucket of cool water while you are getting your supplies ready.
2. Begin with a sturdy vessel (like our large European recycled glass jar). It’s helpful to add stone frogs to the bottom. Frogs help keep tall, unwieldy branches firmly in place and add weight so that the vessel won’t tip over.

3. Cut branches to length with pruners. If you don’t have pruners, ask the florist to trim branches to your desired length before you take them home. Make small slits on the bottom of your branches using clippers or scissors. This increases water absorption.
4. Don’t even try arranging tall branches on a table! Put the vessel on the floor and insert each branch firmly in the stone frog(s). This way you’ll have more control.

Photo: Karin Klerx / @kaatjecom
Above: Use handmade porcelain Germination Plates from Belgium

1. Forcing bulbs couldn’t be simpler. Start by selecting the bulbs you want to force. We love all kinds of hyacinths as well as paperwhites aka narcissus.

2. To force bulbs and branches into bloom, choose Germination Plates in handmade porcelain (for bulbs) or solid Brass Frogs with a single large opening (for branches).

3. Bulbs can be forced in any container (from bowls with a few rocks to tall vases) as long as there is at least 1” deep to allow for the roots. You can use our recycled glass European jar, stoneware cylinder vases by Tracie Hervy, and our bulb vase designed specifically for forcing.
4. Place the bulb – root side down – resting in the narrow part of the vase. The spherical base of our bulb vase provides space for the roots while the tall cylinder supports the flowers.

5. Fill the bottom of the vase with just enough water to reach the bottom of the bulb. Don’t cover them with water as they will rot. Keep an eye on the water level and refill as needed.
6. Place the bulbs in a cool spot with indirect light for about 3 weeks or until the roots start to develop.
7. When the bulb begins to sprout, transfer the vase to a sunny spot.
8. Enjoy a bounty of beautiful blooms just when you need them most.
Pictured: From left to right: European recycled glass jar; beach stone vase; recycled glass bud vase; rustic grey clay pot; small recycled glass cloche
In addition to forcing bulbs in water (suspended in a vase) you can force them in soil or stone. Just choose a container deep enough to accommodate at least one inch of root growth.

1. Plant bulbs in a pot of stones or gravel. Add water to a level that just reaches the bottom of the bulbs (don’t drown them–they’ll rot).
Note: We suggest that plantings be started at 2- to 4- week intervals to keep the show running all winter. Bulbs may be held for weeks in a warm, dark closet, which allows plenty of flexibility in orchestrating displays for holidays or other special occasions.
For more helpful tips on growing paper whites in bottles check out this article at Gardenista.
Your Shopping Cart is Empty
Browse our latest collection or check your saved favorites to add more items to your cart.


Manage your profile, track your orders, and enjoy a seamless shopping journey with us.