Gifting has never been easier
Perfect if you're short on time or are unable to deliver your gift yourself. Enter your message and select when to send it.
Story by Diana Keeler / Photography by Hilton Carter © CICOBooks

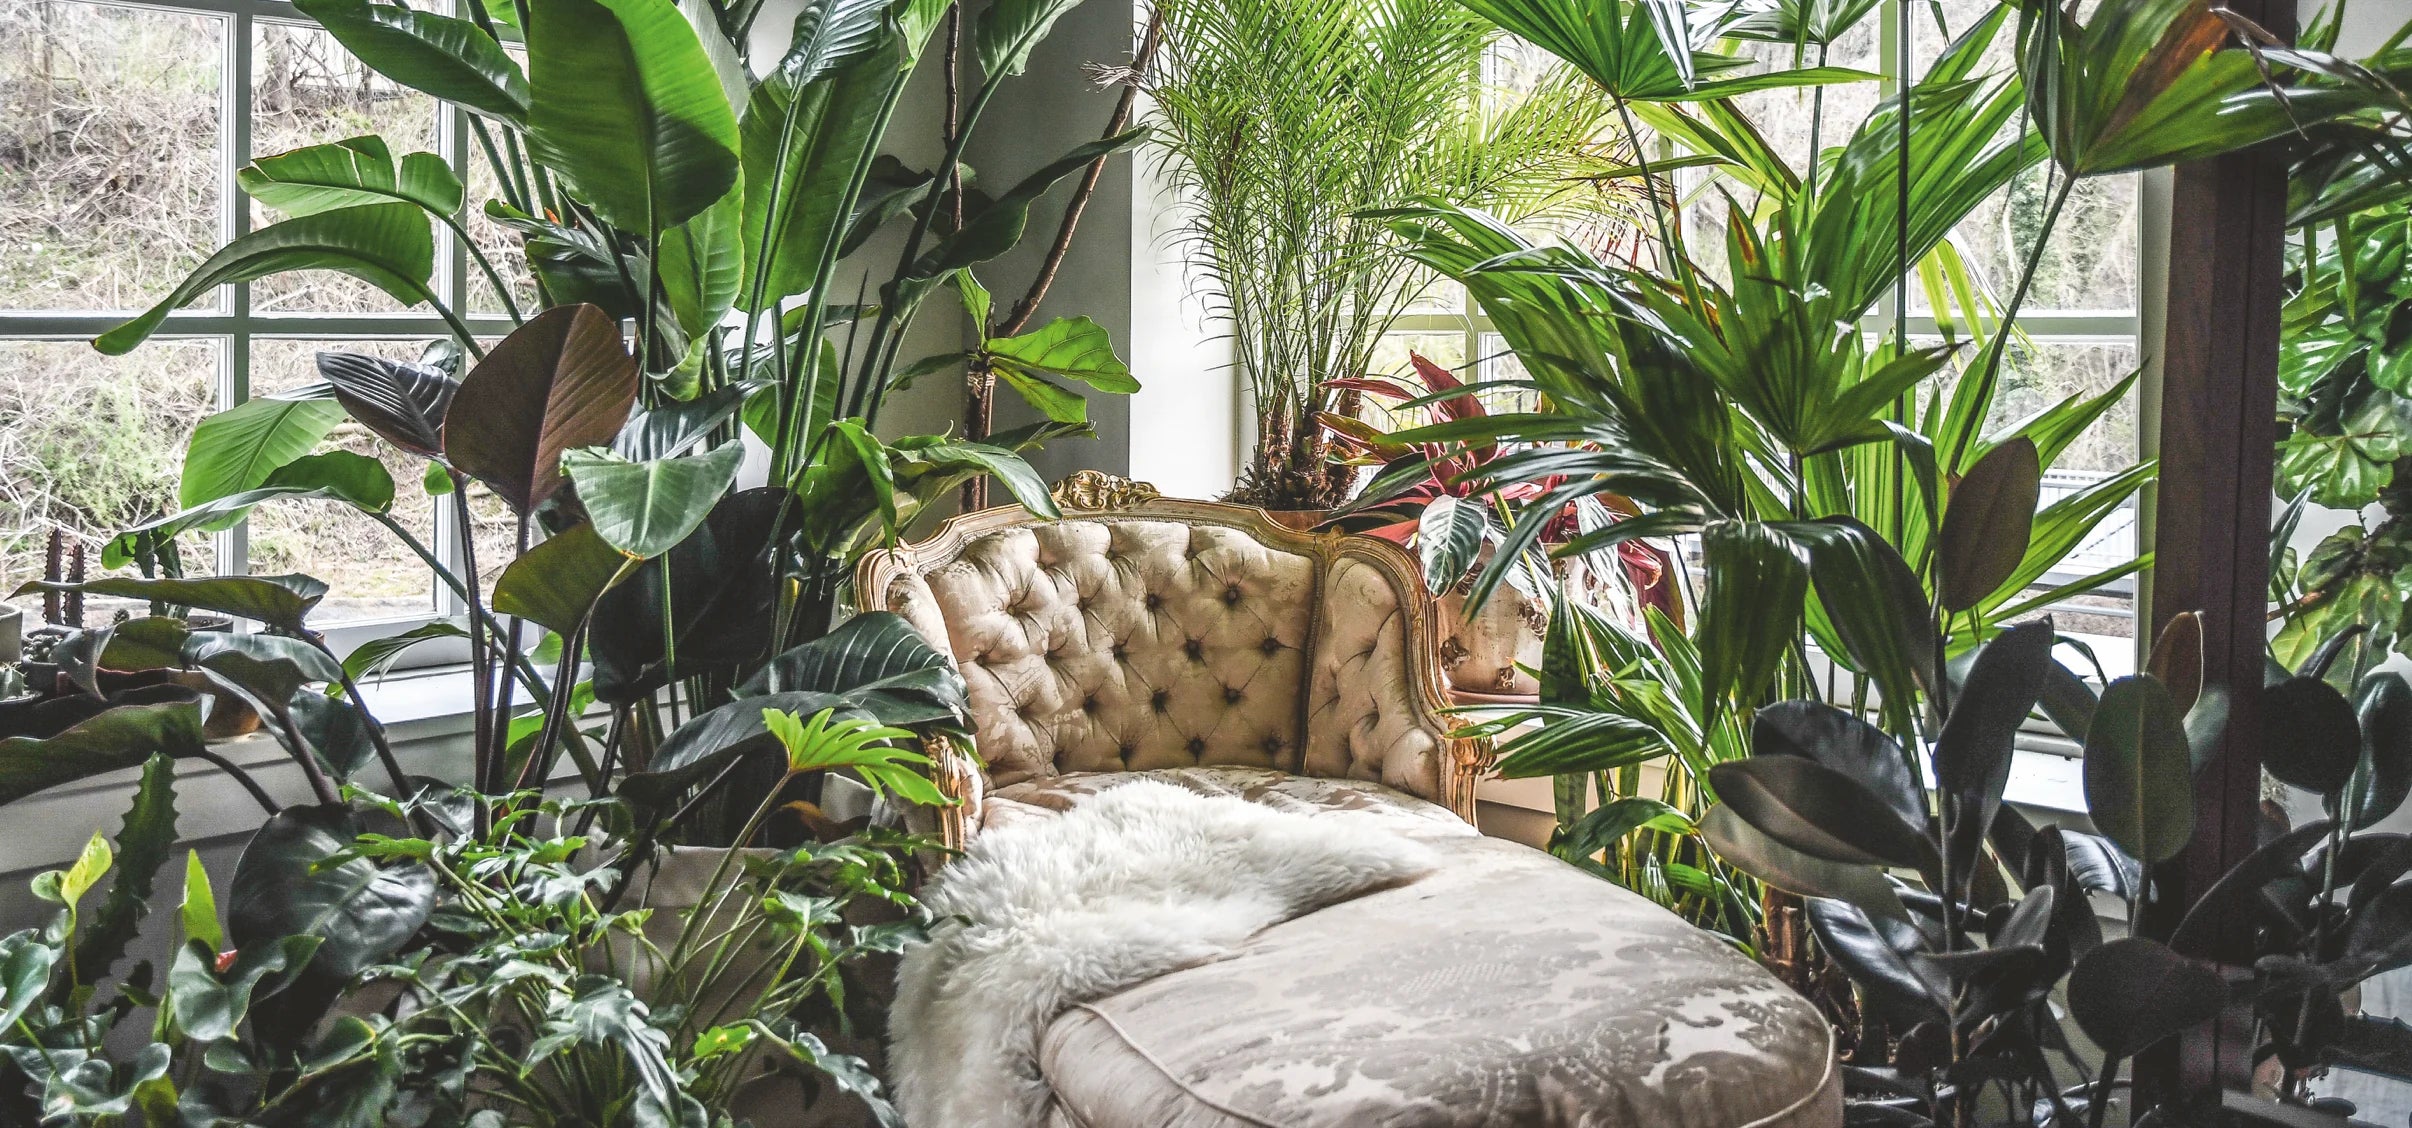
In addition to helping plant parents create peaceful havens of greenery within their homes Hilton Carter is a celebrated plant stylist with a hugely popular Instagram account and the author of best-selling books, Wild Interiors, Wild at Home, and most recently, Wild Creations. Naturally he knows a thing or two about repotting plants. Follow his expert advice for successfully repotting your plants below.

Plant stylist Hilton Carter is on a mission – and that mission has evolved as he’s grown his community, ministering to would-be plant parents on Apartment Therapy and authoring three books: Wild at Home, Wild Interiors, and Wild Creations released just last month. “The questions people are asking about their plants are the same," said Carter from his Baltimore home. “Those questions usually stem from how to best care for their plants: 'I tortured this plant and I don't know what I'm doing wrong.' But I've changed over the years."

As much as Carter has popularized a sense of abundant interior greenery through his super-popular Instagram account, he says he wants plant novices to better understand their limitations. "People really need to consider plants as living things, as 'potted pets,'" he says. "And people need to understand that every single plant can't live happily in every single space. There are people who come to me and say, 'I've killed three fiddle-leaf figs — now I'm on my fourth. And I'll say, 'Nobody should give you a fiddle-leaf fig!'"
Bringing a new plant home should be such a great feeling. I suggest you take a moment before rushing in and pulling the plant out of its nursery pot right away. Instead, I recommend sitting your plant, still in its nursery pot, in the new pot with the base tray underneath, and leaving it for a month in the spot you've chosen for your plant to live in eventually. This will allow the plant to acclimatize to its new surroundings, the light it will receive, and the new watering routine. During this period of acclimatization, don't be surprised if your plant loses a few leaves. Remember, when you found the plant it was living in a nursery that provided a lot more light than the spot in your home. This initial loss of leaves is the plant's way of letting you know that it's going to shed what it can no longer support due to its new environment. Once the plant settles in, you should see less leaf loss and some new growth.
Once your plant has acclimatized, you can repot it in the new planter. The best time to repot your plant is on the same day that you plan to water it. Make sure to pot up the plant first before watering, so the potting mix is dry and the plant is easier to transfer from the nursery pot to the new pot. Now you're prepared, here are some tips for repotting your plant.
Using the right potting mix for each type of plant is important, not only for the health and growth of your plants, but also for your stress levels. Potting a plant in the wrong potting mix can lead to its eventual demise and leave you unsure as to the reasons why. While most plants are happy with standard all-purpose potting mix that dries out slowly and retains moisture, cacti and succulents, for example, need a mix that is fast-drying and doesn’t contain additional fertilizers. When you’re at your local nursery or garden center make sure to ask an assistant which potting mix will work best for each type of plant you buy.
Gardeners are only as good as their tools. Our selection of hard-working, good-looking tools are exquisitely designed and handcrafted from durable, quality materials including Japanese forged steel and wood from responsibly managed forests.
Your Shopping Cart is Empty
Browse our latest collection or check your saved favorites to add more items to your cart.


Manage your profile, track your orders, and enjoy a seamless shopping journey with us.